
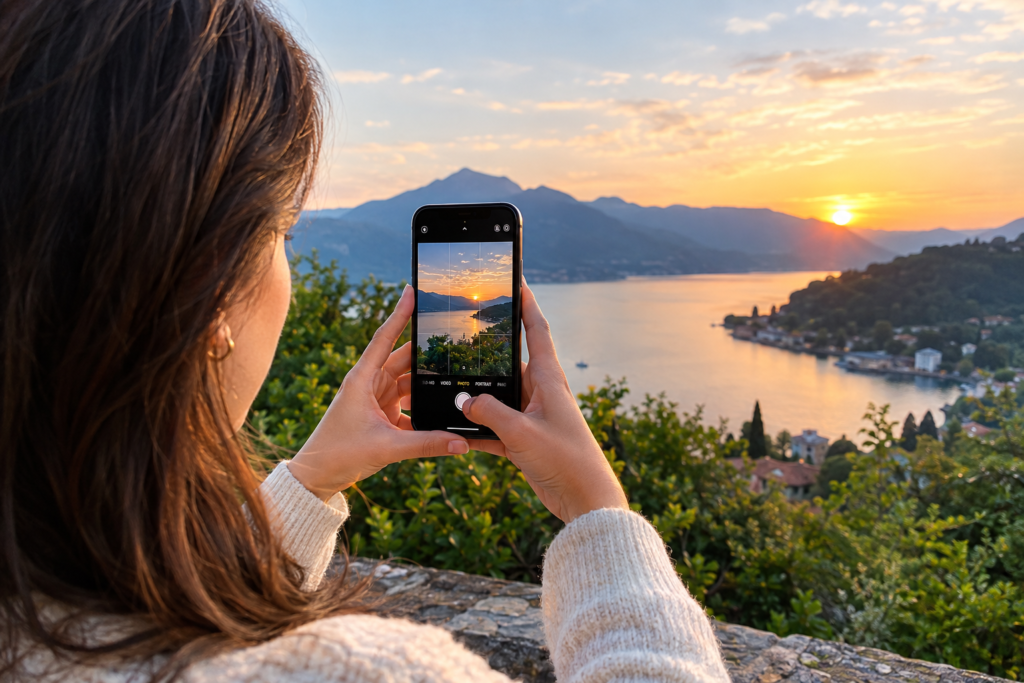
A smartphone can capture sharp and attractive photos, but good results do not happen by simply pointing and tapping the shutter.
Lighting, composition, focus, camera settings, and timing all affect the final image. Small changes in how you use your phone can make an ordinary photo look much more polished.
The good news is that you do not need expensive camera equipment to improve your photography. You can start with the smartphone already in your hand.
These smartphone photography tips will help you take better photos for social media, personal projects, travel, products, events, and everyday moments.
Clean Your Smartphone Camera Lens
Before changing any camera setting, check the lens.
Your phone spends most of its time in a pocket, bag, or on a desk. Fingerprints, dust, and small particles can collect on the camera lens.
A dirty lens can make photos look hazy or less sharp.
Use a soft microfiber cloth to clean the lens gently. Avoid using rough materials that could scratch the surface.
Make lens cleaning a quick habit before taking important photos.
Use Natural Light Whenever Possible
Lighting can have a bigger effect on a photo than many camera settings.
Natural light can produce soft and realistic results. It can also help your phone capture more detail in difficult scenes.
Try taking photos near a large window when you are indoors. Position the subject so that light falls naturally across the scene.
For outdoor photos, early morning and late afternoon can provide softer light than the middle of the day.
Direct sunlight can create strong shadows. If the light looks too harsh, move the subject into open shade.
Avoid Strong Backlighting
Backlighting happens when a bright light source sits directly behind your subject.
Your phone may expose the bright background correctly while making the subject appear too dark.
You can solve this by changing your position or moving the subject. You can also tap the subject on your screen to help the camera adjust exposure.
Use the Rule of Thirds
Composition determines how the elements in your photo are arranged.
The rule of thirds is a simple technique that can help you create a balanced image.
Most smartphone camera apps allow you to display a grid on the screen. The grid divides the frame into nine sections.
Place important subjects near the grid lines or their intersections instead of always putting them in the center.
For example, when photographing a person outdoors, you can place the person slightly to one side. This leaves space in the direction they are looking.
The technique does not work for every photo. Centered compositions can also look strong when the scene has symmetry or a clear focal point.
Tap the Screen to Focus
Smartphone cameras can automatically choose what they think should be in focus.
Sometimes the camera chooses the wrong subject.
Tap the main subject on your screen before taking the photo. This helps direct the camera’s focus toward the area that matters most.
This technique works especially well for portraits, food photography, close-up images, and product photos.
If your phone supports focus and exposure controls, use them when you need more control over the final image.
Adjust Exposure Before You Shoot
Your smartphone camera usually adjusts brightness automatically.
However, automatic exposure does not always produce the result you want.
A bright sky can cause the foreground to look too dark. A bright subject can also cause other parts of the scene to appear darker.
After tapping your subject, look for the exposure control on your camera app. On many phones, you can move a slider to make the image brighter or darker.
Take a test photo and check the result.
Avoid making the image unnecessarily bright. Overexposed areas can lose detail that may be difficult to recover during editing.
Hold Your Smartphone Steady
Camera movement can make photos look blurry.
This becomes more noticeable in low light because the camera may need more time to capture the image.
Hold your phone with both hands when possible. Keep your elbows close to your body and press the shutter gently.
You can also use a stable surface or tripod for certain shots.
A tripod can be especially useful for:
- Night photography
- Long exposure photos
- Group photos
- Product photography
- Self portraits
- Landscape photography
Avoid Excessive Digital Zoom
Zoom can be useful, but not every type of zoom works the same way.
Many smartphones use optical or sensor-based camera systems for certain zoom levels. Digital zoom can crop and enlarge the image, which may reduce detail.
Instead of zooming too far, consider moving closer to your subject when it is safe and practical.
If your phone has multiple camera lenses, check which lens you are using. A dedicated telephoto camera may produce better results than heavily cropping a standard camera image.
Use Portrait Mode Carefully
Portrait mode can create a blurred background around a subject.
This effect can make portraits and certain close-up photos look more professional.
However, portrait mode is not always perfect.
The software may struggle with hair, glasses, small objects, or complicated backgrounds. Check the edges around your subject before sharing the image.
Use a simple background when possible. Good lighting can also help your phone separate the subject from the background.
Choose a Simple Background
A strong subject can lose attention when the background contains too many distracting elements.
Look around the frame before pressing the shutter.
Move unwanted objects out of the scene. You can also change your shooting position to create a cleaner background.
For example, a person standing against a plain wall may produce a more focused portrait than the same person standing in front of a crowded area.
The background should support the subject rather than compete with it.
Use Leading Lines
Leading lines can guide the viewer’s attention through an image.
Roads, fences, bridges, walls, sidewalks, and architectural features can create natural lines.
Try positioning yourself so these lines lead toward your main subject.
For example, a walkway can guide the viewer’s eyes toward a person standing farther away.
This technique is particularly useful in travel, street, landscape, and architectural photography.
Try Different Angles
Taking every photo from eye level can make your images look repetitive.
Change your position and experiment with different angles.
You can photograph a subject from a lower position to make it appear more prominent. A higher angle can provide a different perspective.
For food photography, try shooting from directly above. For buildings, step back and experiment with the surrounding lines and shapes.
Small changes in your position can completely change the composition.
Use HDR When the Scene Needs It
HDR stands for high dynamic range.
It can help your phone handle scenes that contain both very bright and dark areas.
For example, a landscape with a bright sky and darker foreground can challenge a smartphone camera.
HDR can help balance these areas in supported camera apps.
However, avoid relying on HDR for every photo. Some scenes may look more natural without it.
Take Better Portrait Photos
Good portrait photography depends on more than the camera.
Start by choosing a location with suitable light. Avoid harsh light directly above the subject when possible.
Place the subject away from a distracting background.
Focus on the person’s eyes. For a natural portrait, ask the person to relax rather than holding an unnatural pose.
You can also leave some space around the subject. This gives you more flexibility when cropping the image later.
Try Different Portrait Compositions
You do not need to use the same framing every time.
Try:
- Head and shoulders
- Waist-up portraits
- Full-body portraits
- Environmental portraits
- Close-up facial portraits
Each composition tells a slightly different visual story.
Take Better Food Photos With Your Phone
Food photography is another area where smartphones can perform well.
Natural window light can create attractive detail and texture. Place the food near the light source without creating strong unwanted shadows.
Try different angles based on the dish.
A top-down angle can work well for plates with interesting shapes and colors. A lower angle can work better for tall foods such as burgers or layered desserts.
Keep the table and background simple.
Take Better Travel Photos
Travel photography often requires quick decisions.
Before taking a photo, look at the entire frame rather than focusing only on the main subject.
Include details that communicate the location. Buildings, signs, landscapes, streets, and local objects can add context.
Take several compositions of the same scene.
One wide photo can show the environment. A closer image can highlight an interesting detail.
This approach creates a more varied collection of travel photos.
Edit Your Photos Without Overdoing It
Editing can improve a good photo, but heavy editing can make an image look unnatural.
Most smartphones include basic editing tools for brightness, contrast, highlights, shadows, saturation, and cropping.
Start with small adjustments.
Correct the exposure first if necessary. Then adjust highlights and shadows to recover useful detail.
Crop the image if unwanted elements distract from the subject.
Be careful with saturation and sharpness. Excessive adjustments can create unnatural colors and harsh details.
A Simple Smartphone Photo Editing Workflow
You can follow this basic process after taking a photo:
1. Crop the Image
Remove unnecessary areas and improve the composition.
2. Correct Brightness
Make sure the main subject is clearly visible without making bright areas too strong.
3. Adjust Highlights
Reduce overly bright areas when they distract from the subject.
4. Adjust Shadows
Lift darker areas when important details disappear.
5. Adjust Color
Make small changes to temperature and saturation when needed.
6. Check Sharpness
Use sharpening carefully. Too much can make edges look unnatural.
7. Review the Final Image
Look at the complete photo before saving or posting it.
Common Smartphone Photography Mistakes
Even a good smartphone camera can produce poor results when basic photography habits get in the way.
Using Poor Lighting
A technically sharp photo can still look weak when the lighting is poor.
Look for soft, useful light before changing advanced settings.
Relying on Zoom Too Much
Heavy digital zoom can reduce image quality.
Move closer when possible or use the appropriate camera lens.
Ignoring the Background
A distracting background can take attention away from your subject.
Check the entire frame before taking the photo.
Taking Only One Photo
Important moments can be difficult to repeat.
Take several photos when possible. Small changes in expression, focus, or movement can make one image much better than another.
Overediting Photos
Heavy filters and extreme adjustments can remove natural detail.
Make small changes and compare the edited version with the original.
Using Flash Automatically
Smartphone flash can create harsh light and strong shadows.
Try natural or nearby artificial light first. Use flash when the situation requires additional light.
How to Take Professional Photos With a Smartphone at Night
Night photography presents a different challenge because there is less available light.
Start by keeping your phone steady.
Use a stable surface or tripod when possible. Avoid unnecessary movement while the phone captures the image.
Look for available light from buildings, streetlights, signs, windows, or other sources.
Night mode can help on supported smartphones. However, the phone still needs stability when capturing the image.
Avoid excessive digital zoom at night because low light can make image quality drop further.
Smartphone Photography Tips for Better Results
You can improve your photos without changing your phone.
Keep these habits in mind:
- Clean your camera lens before important photos.
- Look for good light.
- Tap your subject to focus.
- Check exposure before shooting.
- Keep your phone steady.
- Avoid excessive digital zoom.
- Use grid lines to improve composition.
- Try different angles.
- Keep backgrounds simple.
- Take multiple photos.
- Edit with a light touch.
- Review the entire frame before shooting.
How to Make Smartphone Photos Look More Professional
Professional looking photography does not depend on one setting or feature.
The biggest improvement usually comes from combining several simple techniques.
Start with good lighting. Then create a clear composition. Keep the subject in focus and remove distracting elements.
After taking the photo, make small editing adjustments instead of applying a heavy filter.
Most importantly, pay attention before you press the shutter.
Your smartphone already gives you many tools for creating strong images. Learning how to use those tools thoughtfully can make a noticeable difference.
Final Thoughts
Learning how to take professional photos with a smartphone starts with better habits rather than expensive equipment.
Pay attention to light, composition, focus, exposure, and background. Experiment with different angles and review your photos after shooting.
You will not get every photo right on the first attempt. Practice helps you understand what works in different situations.
With time, your smartphone can become a capable photography tool for portraits, travel, food, products, landscapes, and everyday moments.

