
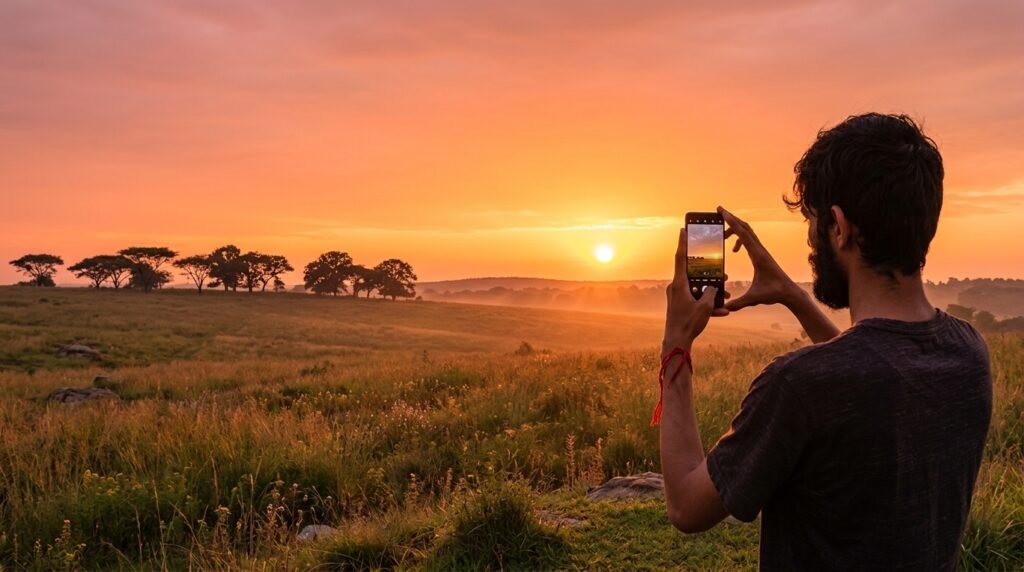
You spot a perfect sunset, pull out your phone, and tap the shutter. The photo looks flat, the colors are dull, and the moment you saw with your own eyes is nowhere in the frame. Sound familiar? These mobile photography tips will help you capture what you actually see.
The good news is that the gap between a casual snapshot and a polished photo has less to do with your phone and more to do with how you use it. The habits and settings below make a visible difference, whatever device you own.
Start With Basic Mobile Photography Tips Most People Skip
Clean Your Lens: The Easiest Mobile Photography Tip
It sounds too simple to matter, but phone lenses collect fingerprints and pocket lint all day. A smudged lens causes hazy, soft photos and strange glare around lights. Wipe it with a clean microfiber cloth or a soft piece of clothing before you shoot.
Hold the Phone Steadily
Blurry photos usually come from camera shake, not a weak camera. Hold the phone with both hands, tuck your elbows against your body, and gently press the shutter button or tap the screen. In low light, lean against a wall or rest the phone on a stable surface. Steady hands are one of the simplest mobile photography tips, and it costs nothing.
Tap to Focus and Adjust Exposure
Tap the screen on your subject to lock focus. Most phones then let you drag a small slider to brighten or darken the image. Getting exposure right while shooting saves you from trying to rescue a too-dark or washed-out photo later. Of all the mobile photography tips here, this one fixes the most photos before you even edit.
Light Is Doing Most of the Work
Photographers talk about light constantly because it shapes mood, color, and detail more than any other factor.
- Use window light indoors. Place your subject near a window, with the light falling on them from the side or front. It’s soft and flattering for portraits, food, and products.
- Shoot during golden hour. The hour after sunrise and before sunset gives warm, gentle light that makes almost anything look better.
- Avoid harsh midday sun when possible. Direct overhead light creates strong shadows and squinting faces. Look for open shade, such as the side of a building, instead.
- Be careful with the flash. Phone flashes often flatten a scene and create unnatural skin tones. Find more natural light or raise the exposure slightly.
Practical example: If you’re photographing a coffee cup at a cafe table, move it next to the window and shoot from the side. The light will reveal texture in the foam and add soft shadows without any equipment.
Composition: Where Pro-Level Shots Really Come From
These phone photography tips take seconds to apply and change how a frame feels.
Turn On the Grid
Open your camera settings and enable the grid. It overlays lines that divide the frame into thirds. Place your subject along those lines or at the points where they cross instead of dead center. This is the rule of thirds, and it quickly makes images feel more balanced.
Look for Leading Lines
Roads, fences, railings, and shorelines can guide the viewer’s eye toward your subject. Position yourself so those lines lead into the frame rather than across it.
Simplify the Background
A beautiful subject can be ruined by a trash can, power line, or random person behind it. Before pressing the shutter, scan the edges of the frame. Take a step left or right, or crouch lower, to clean up the background.
Change Your Angle
Most phone photos are taken at eye level, which is why they look ordinary. Try shooting low to make a subject feel larger, or from above for flat-lay food and product shots. Small shifts in perspective often turn a forgettable photo into an interesting one.
Use Your Phone’s Built-In Features: Smart Mobile Photography Tips
Portrait Mode: A Mobile Photography Feature Worth Using
Portrait mode blurs the background to separate your subject. It works best when your subject is a few feet from the background and well lit. Watch the edges, as hair and glasses can look strange if the blur is applied unevenly.
Switch Lenses Instead of Zooming
If your phone has multiple lenses, such as wide, ultra-wide, and telephoto, use them rather than pinching to zoom digitally. Digital zoom crops the image and reduces quality. Alternatively, walk closer to your subject. Among smartphone photography tips, this one has the biggest effect on sharpness.
Shoot in a High-Quality Format
Check your camera settings for higher-quality or RAW options, if your phone offers them. These formats keep more image data, which gives you more room for editing. They also use more storage, so use them selectively for photos you care about.
Try HDR for Tricky Light
HDR combines multiple exposures to preserve detail in both bright and dark areas. It’s useful for landscapes with a bright sky or backlit scenes. Most modern phones apply it automatically, but check your settings if highlights look blown out.
Edit Like You Mean It, But Lightly
Editing is where good photos become finished photos. Free apps like Snapseed and Adobe’s Lightroom Mobile offer powerful controls without needing a computer. Check each app’s official store listing for current features and pricing.
A simple editing order that works for most photos:
- Crop and straighten. Fix tilted horizons and tighten the composition.
- Adjust exposure. Brighten or darken the overall image.
- Recover highlights and shadows. Bring back detail in bright skies or dark corners.
- Fine-tune color. Adjust warmth and saturation gently.
- Add subtle sharpness. A little goes a long way.
Common mistake: Restraint is one of the most overlooked mobile photography tips. Over-editing. Heavy saturation, extreme contrast, and strong filters make photos look artificial. If someone can immediately tell a photo was edited, you’ve probably gone too far.
Mobile Photography Mistakes That Make Phone Photos Look Amateur
- Tilted horizons. Use the grid to keep lines level.
- Over-zooming. Move closer instead.
- Cluttered frames. Include only what supports the subject.
- Shooting into bright light without adjusting. Tap your subject and lower the exposure slightly.
- Taking just one shot. Take several, vary your angle, and choose the best later.
Share and Present Your Photos Well
Good photos deserve good presentation. If you post to social platforms, consistent editing and thoughtful cropping help your feed look cohesive. Our guide to Instagram tips and tricks most users never discover covers features that can help your images reach more people.
If you also capture short clips, the same principles of light and composition apply. Once you’re comfortable with stills, our list of the best free video editing apps for Reels and Shorts can help you turn footage into polished content, and these video editing tricks for professional-looking clips will take it a step further.
A Quick Checklist Before You Shoot
- Is the lens clean?
- Is the light coming from a flattering direction?
- Is the subject in focus and properly exposed?
- Is the background free of distractions?
- Have you tried at least two angles?
Final Thoughts on Mobile Photography Tips
You don’t need expensive gear to take photos people notice. Clean your lens, find good light, think about composition, and edit with restraint. Practice these mobile photography tips on everyday subjects like your lunch, your street, or a friend by a window, and you’ll see steady improvement. Photography is a skill built one frame at a time, and the best camera is the one already in your pocket.

