Install and Get Started with MySQL Workbench on Ubuntu
how to install MySQL Workbench on Ubuntu,how to to install mysql workbench on linux As a rule, always update and upgrade the system, before any installation:
sudo apt update && sudo apt upgradeNow you can download and install Workbench with the command:
sudo apt install mysql-workbenchInstalling MySQL Workbench Using Deb Packages
To install MySQL Workbench from the official apt repository,download the deb file.
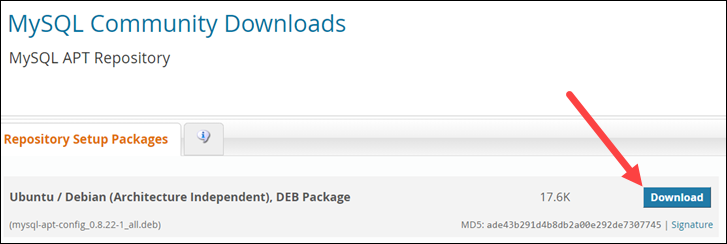
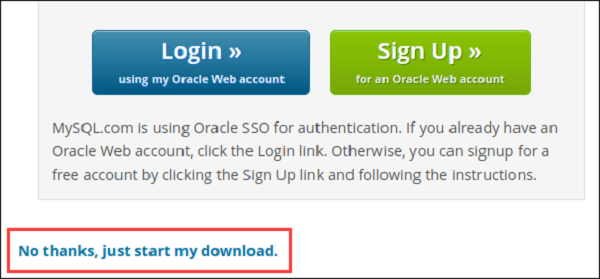
Now Click on the download. A new page will be open

click on the no thanks just start my download.your download has been start.
go the download folder where is file download.
we have to given the execute permission to file
sudo chmod +x given the deb file name we have download above
sudo dpkg -i deb file name
To install and get started with MySQL Workbench on Ubuntu, you can follow these steps:
- Open a terminal on your Ubuntu machine.
- Update the package list to ensure you have the latest version of available software by running the following command:
sudo apt update - Install MySQL Workbench by running the following command:
sudo apt install mysql-workbenchThis command will install MySQL Workbench along with any necessary dependencies.
- Once the installation is complete, you can launch MySQL Workbench by searching for it in the application launcher or by running the following command in the terminal:
- MySQL Workbench will open, and you will be prompted to create a new connection. Enter the necessary connection details such as the hostname, port, username, and password to connect to your MySQL server. If you’re running MySQL server on your local machine, you can typically use
localhostas the hostname. - After entering the connection details, click on the “Test Connection” button to ensure that the connection is successful. If the test is successful, click on “OK” to save the connection.
- You are now connected to your MySQL server using MySQL Workbench. You can create and manage databases, run queries, and perform various administrative tasks using the features provided by MySQL Workbench.
That’s it! You have successfully installed and set up MySQL Workbench on your Ubuntu machine. You can now start using it to interact with your MySQL databases.